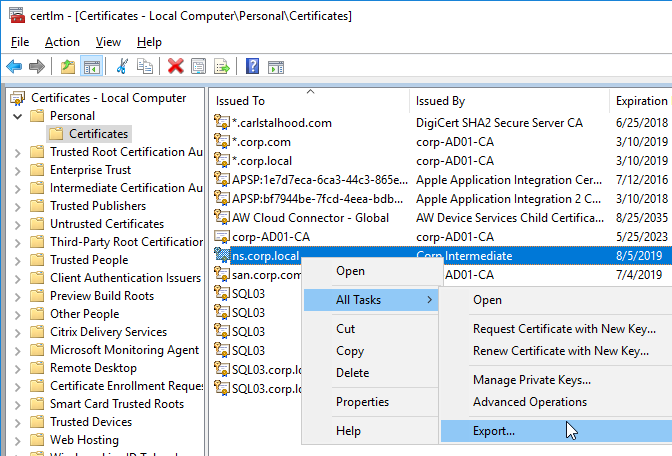
- Or, run mmc.exe, manually add the Certificates snap-in, and point it to Local Computer.
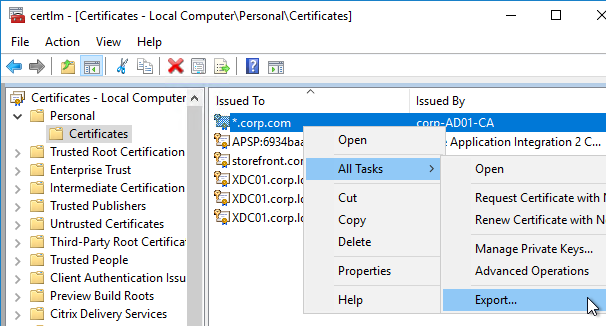
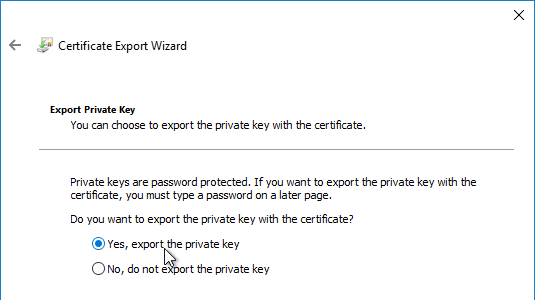
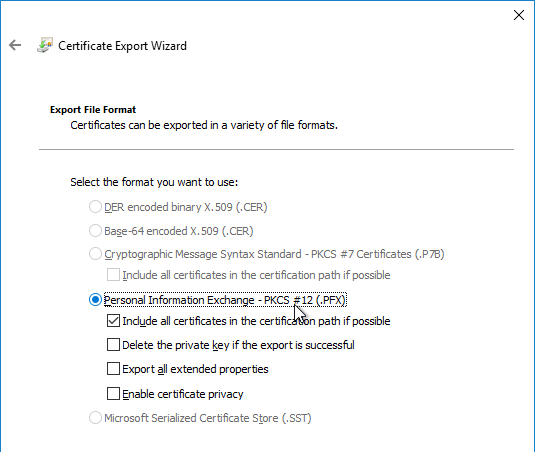

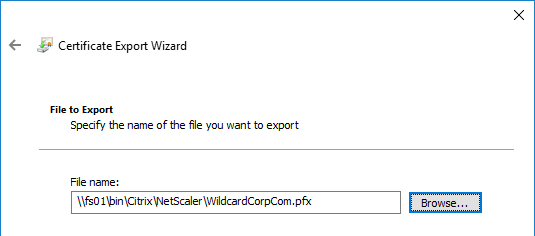
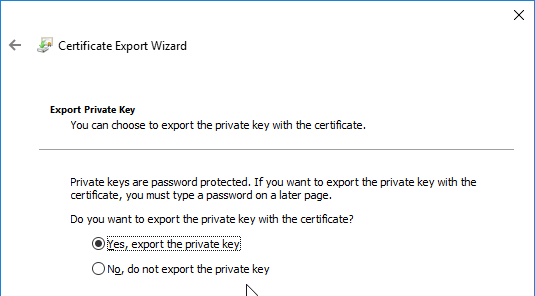
You can export a certificate (with private key) from Windows, and import it to NetScaler.
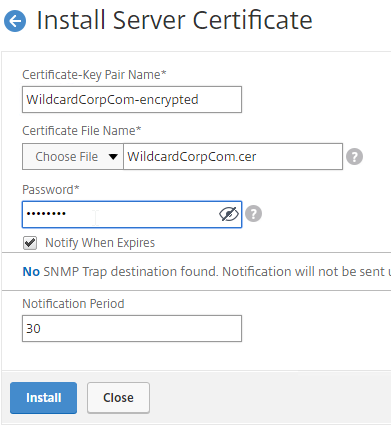
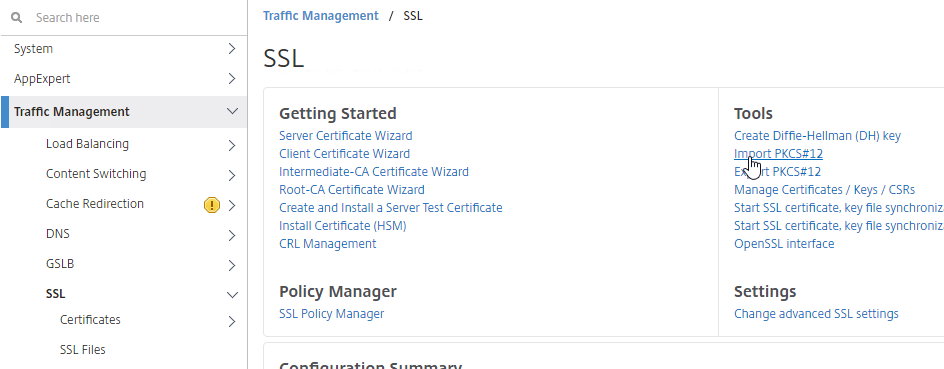
Newer builds of NetScaler ADC (e.g. 12.0 build 59 and 12.1 build 49) import .pfx files and use them in their native encrypted format.
Older builds of NetScaler ADC convert the .pfx file to an unencrypted .pem file that is named the same as the original .pfx file but with an additional .ns extension.
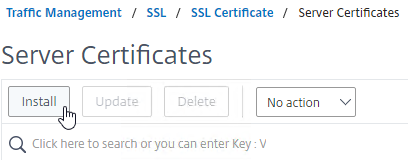
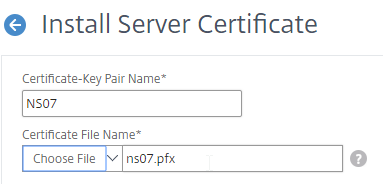
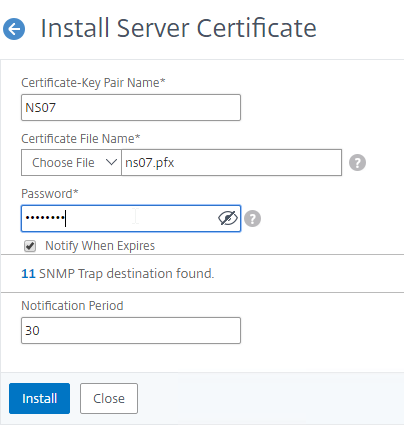
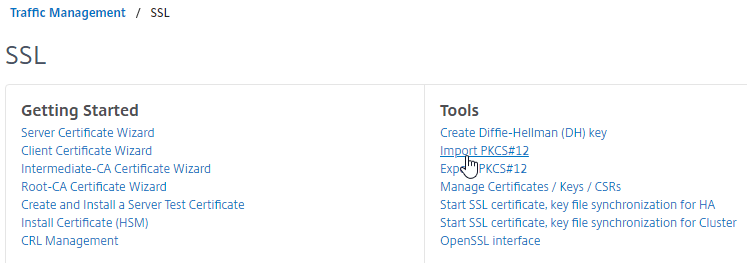
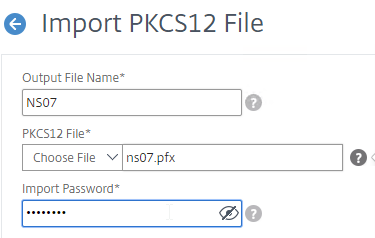
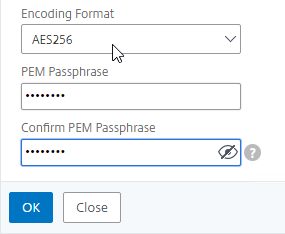
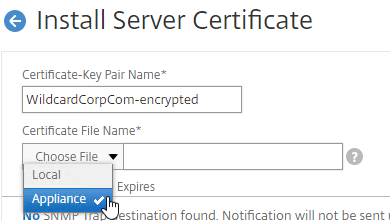
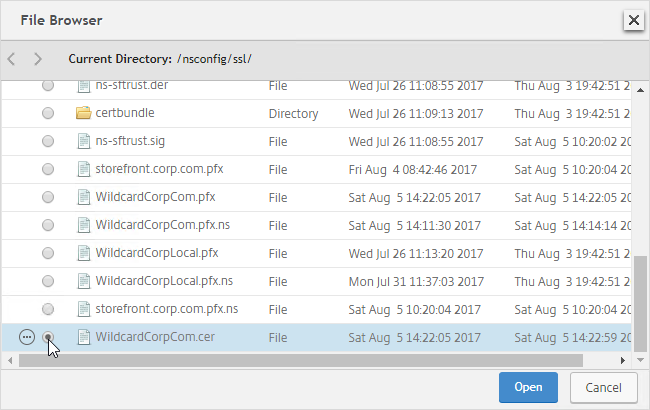
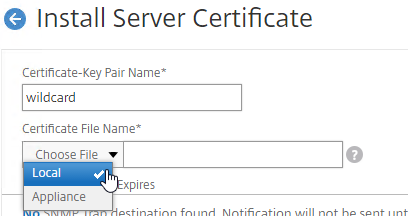
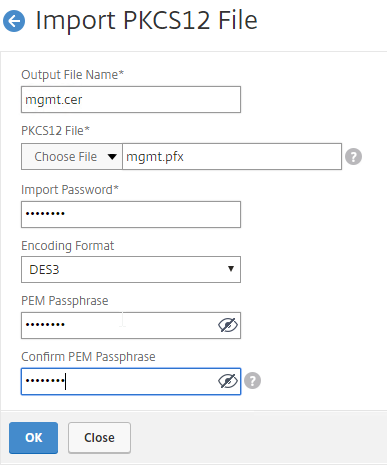
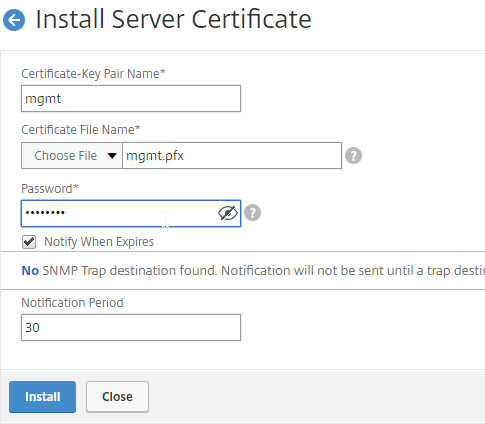
To import the .pfx file:
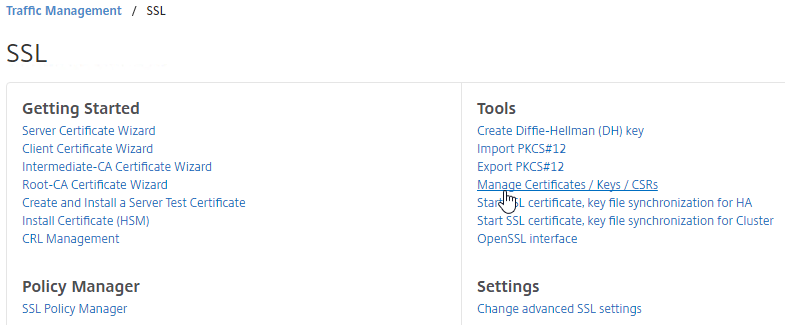
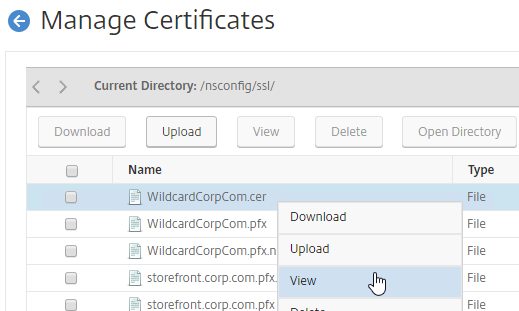
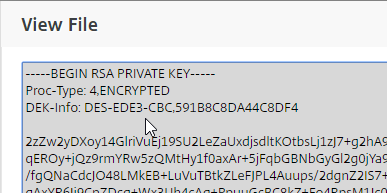
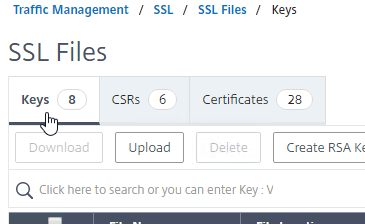
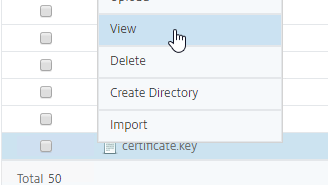
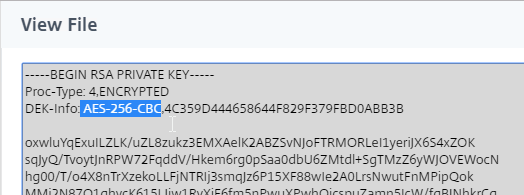
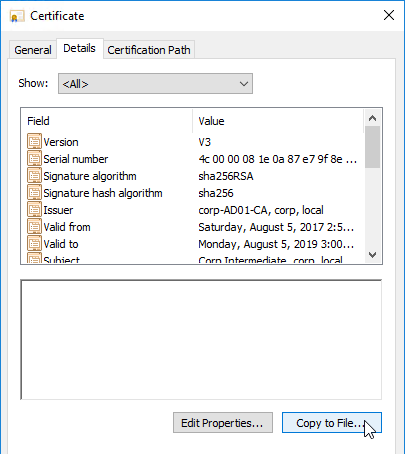
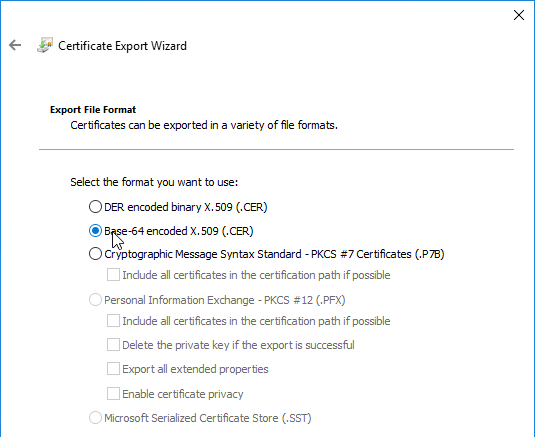
To convert PFX to PEM, do the following:

If you want to create free Let’s Encrypt certificates, see John Billekens’ PowerShell script detailed at Let’s Encrypt Certificates on a NetScaler.
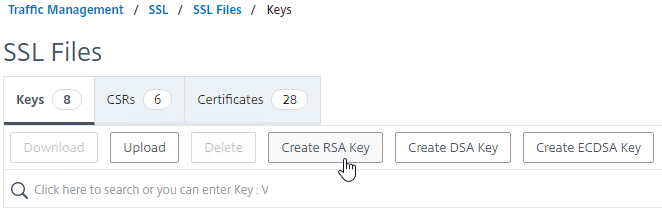
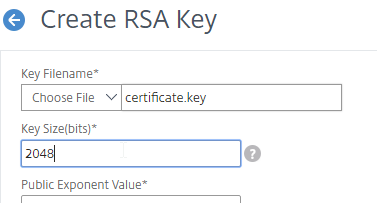
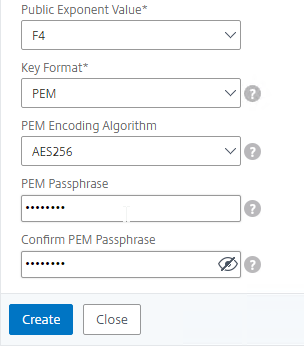
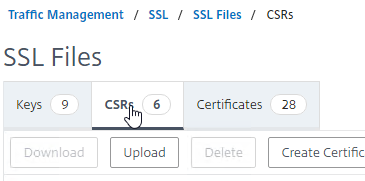
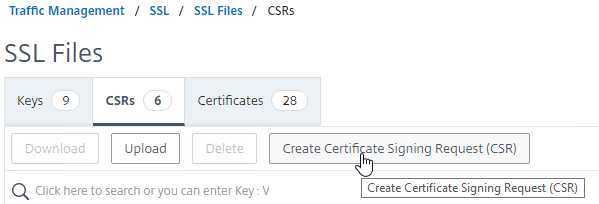
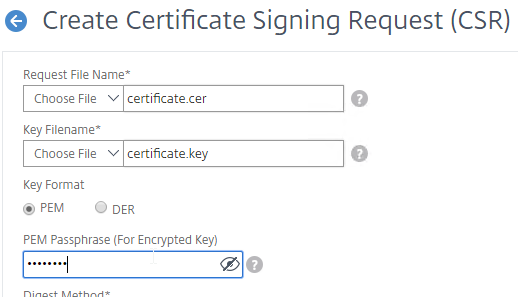
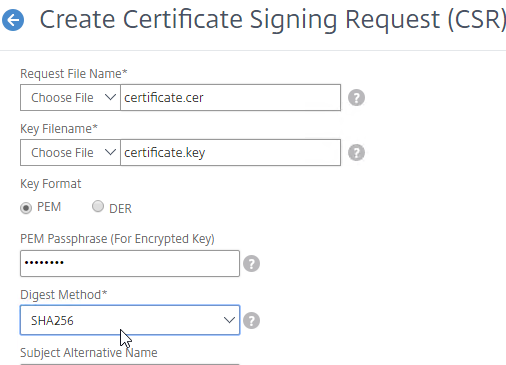
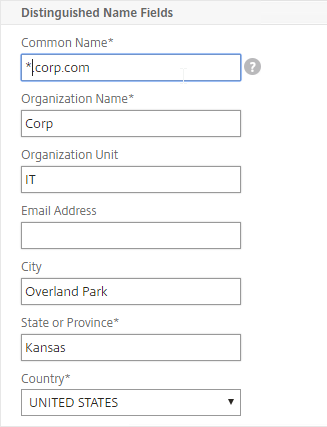
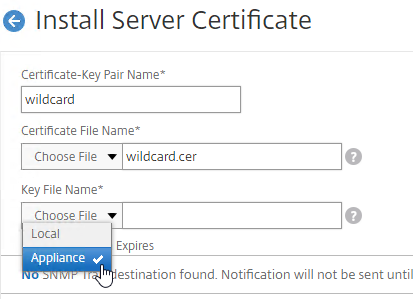
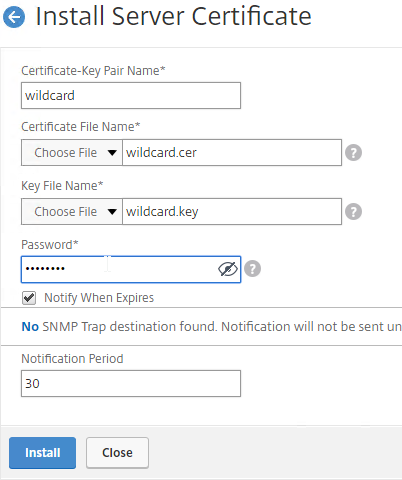
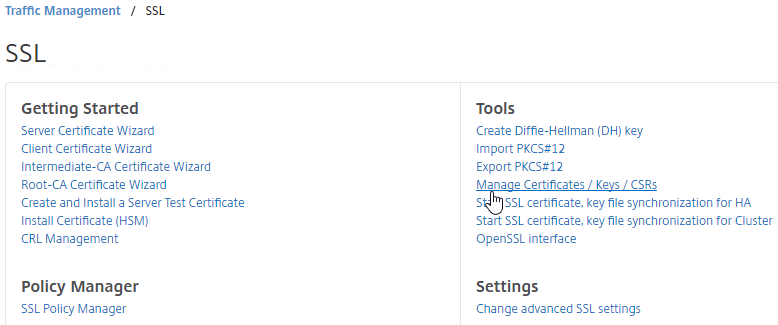
You can create a key pair and Certificate Signing Request (CSR) directly on the NetScaler appliance. The CSR can then be signed by an internal, or public, Certificate Authority.
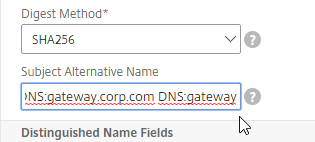
Most Certificate Authorities let you add Subject Alternative Names when creating (or purchasing) a signed certificate, and thus there’s no reason to include Subject Alternative Names in the CSR created on NetScaler. You typically create a CSR with a single DNS name. Then when submitting the CSR to the Certificate Authority, you type in additional DNS names.


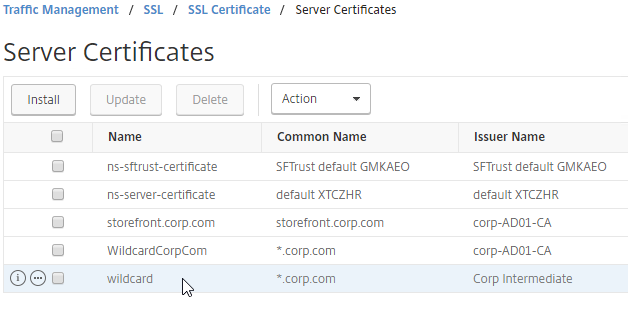
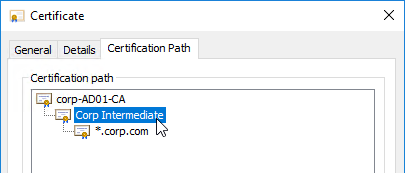
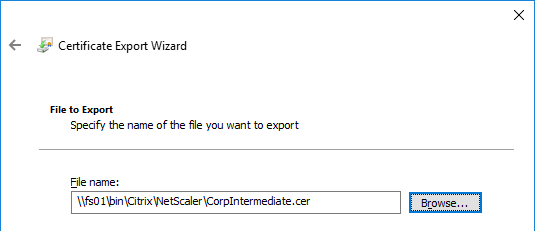
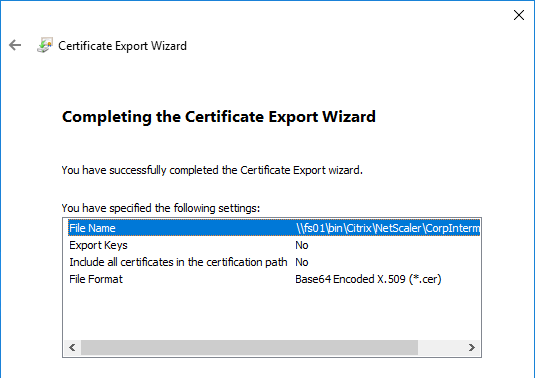
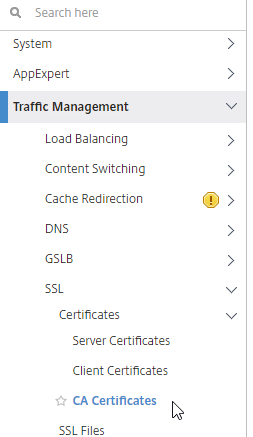
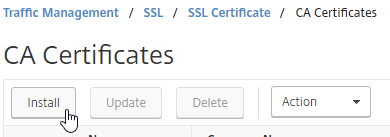
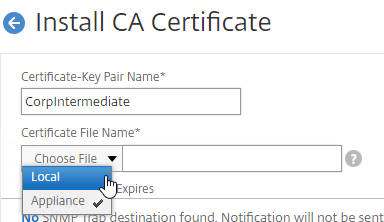
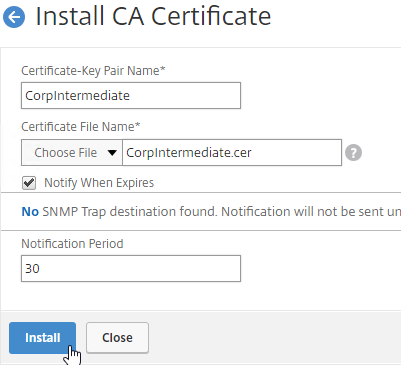
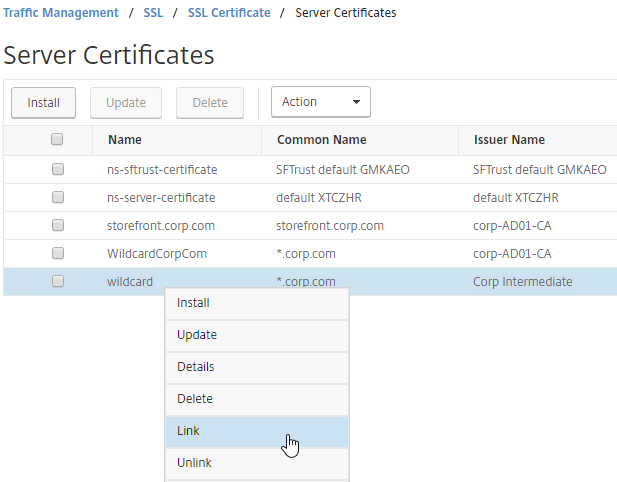
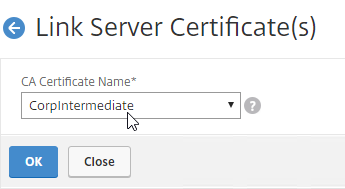
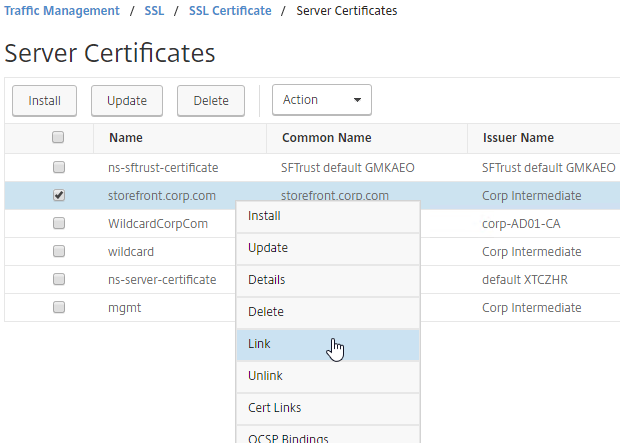
If your Server Certificate is signed by an intermediate Certificate Authority, then you must install the intermediate Certificate Authority’s certificate on the NetScaler. This Intermediate Certificate then must be linked to the Server Certificate.

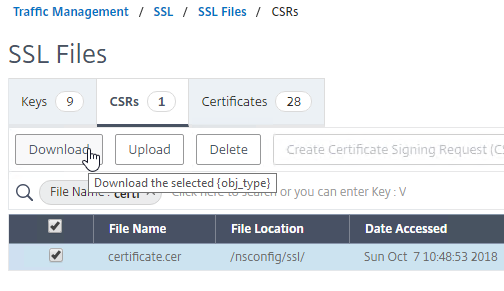
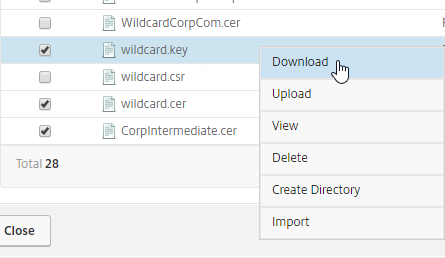
You can easily export certificate files from the NetScaler, and import them to a different NetScaler.

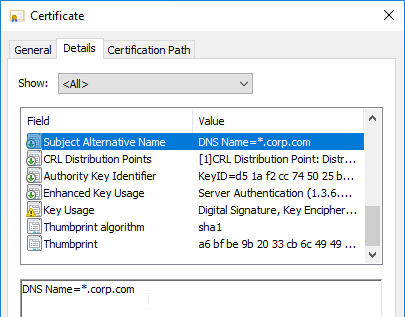
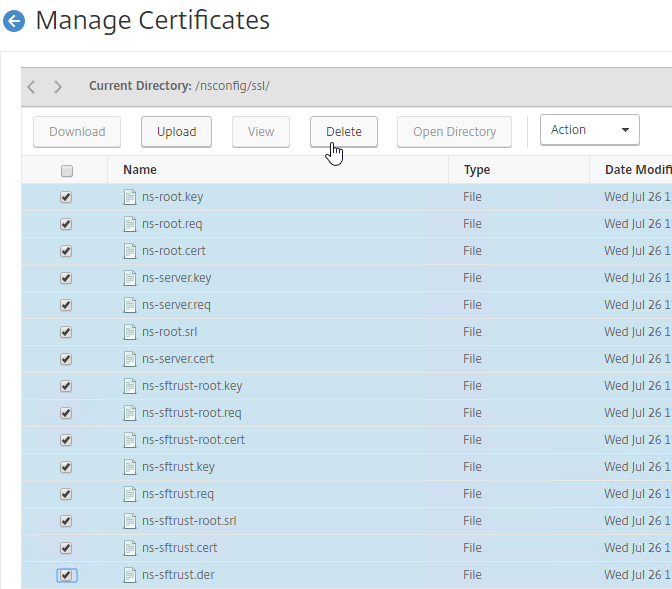
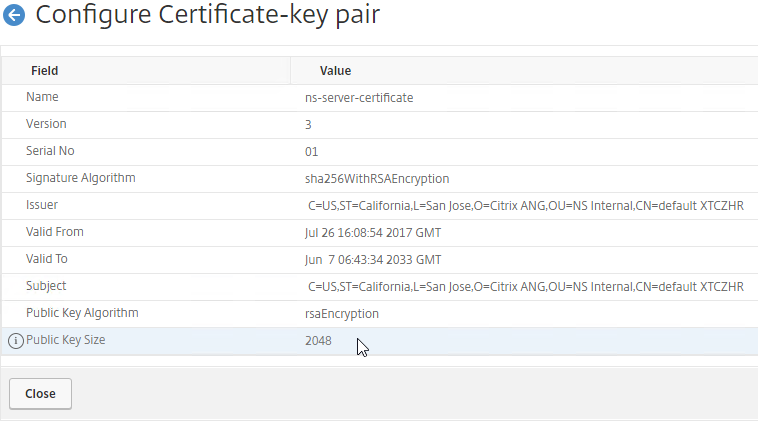
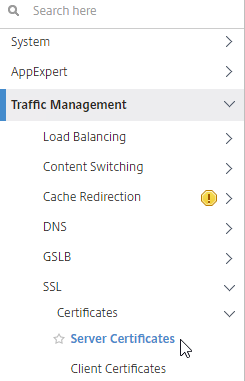
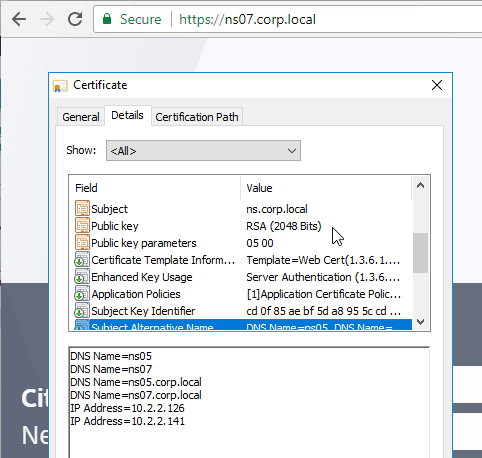
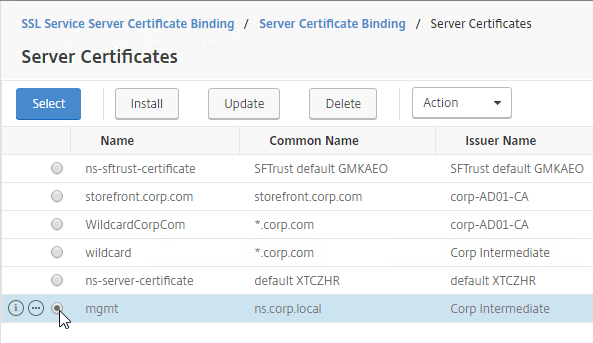
To see the key size for the management certificate, right-click the ns-server-certificate (Server Certificate), and then click Details. 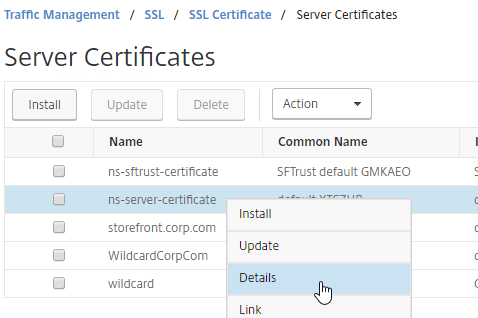
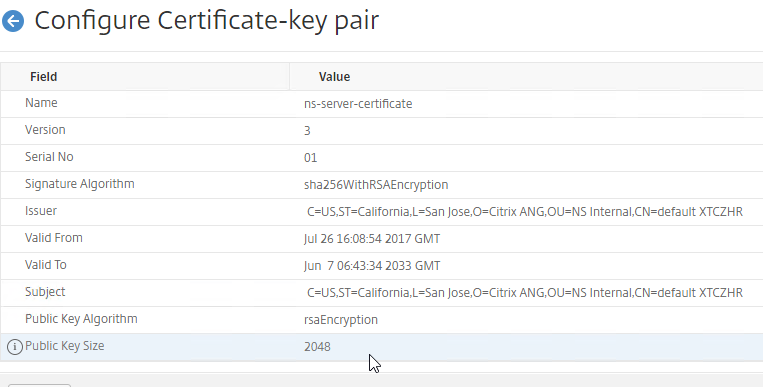
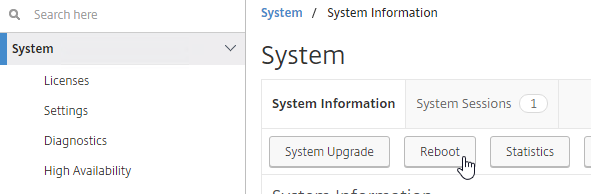
If the management certificate key size is less than 2048 bits, simply delete the existing ns-server-certificate certificate files, and reboot. NetScaler will create a new management certificate with 2048-bit keys.
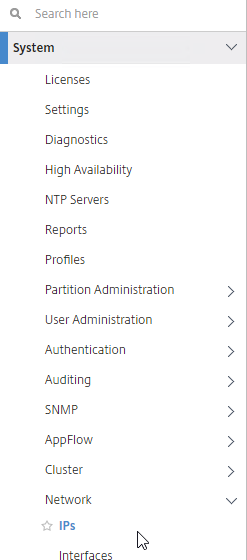
You can replace the default management certificate with a new trusted management certificate.
High Availability – When a management certificate is installed on one node of a High Availability pair, the certificate is synchronized to the other node, and used for the other node’s NSIP. So make sure the management certificate matches the DNS names of both nodes. This is easily doable using a Subject Alternative Name certificate. Here are some names the management certificate should match (note: a wildcard certificate won’t match all of these names):
If you prefer to create a separate management certificate for each HA node, then see CTP George Spiers How to secure management access to NetScaler and create unique certificates in a highly available setup. 💡
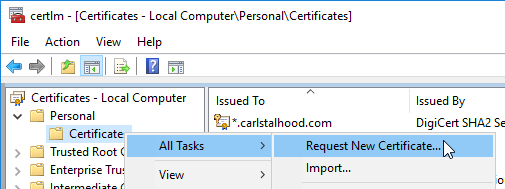
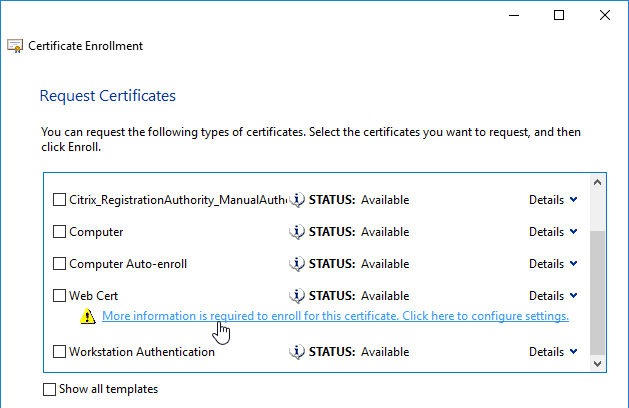
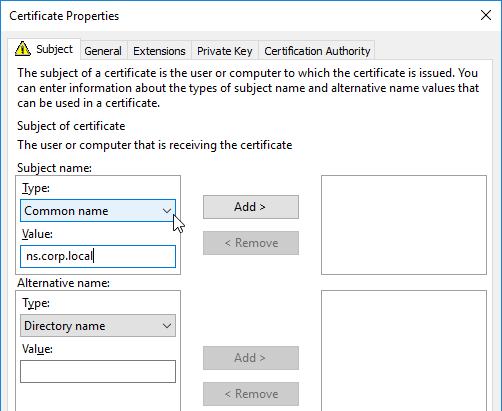
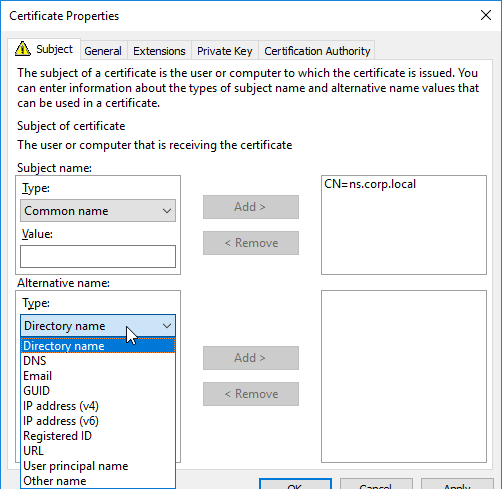
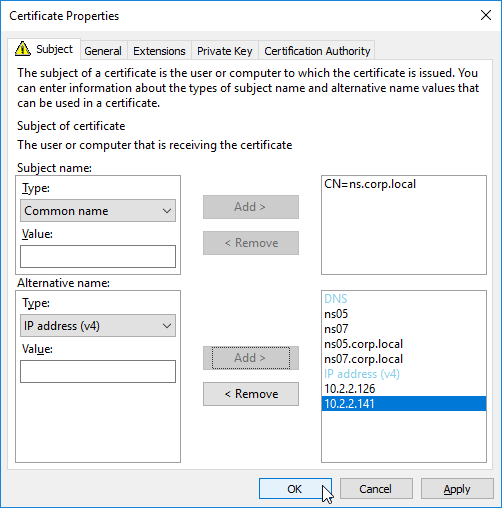
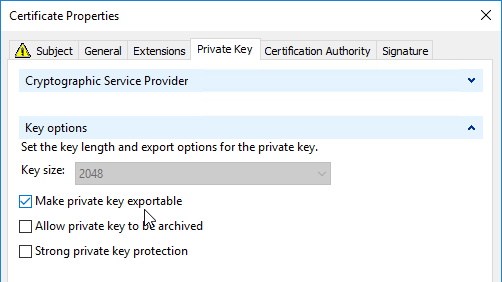
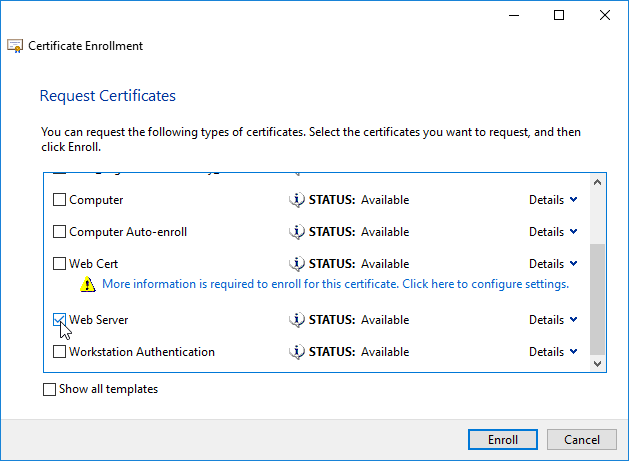
If you are creating a Subject Alternative Name certificate, it’s probably easiest to request a SAN certificate from an internal CA using the MMC Certificates snap-in on a Windows box.:
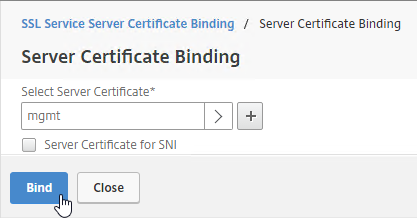
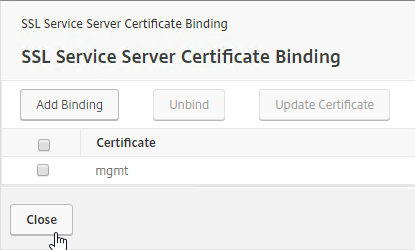
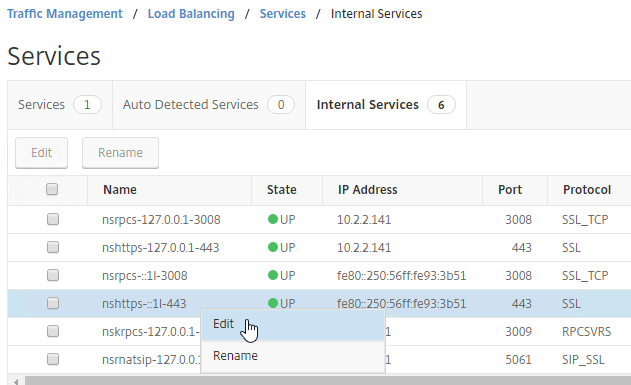
There are two methods of replacing the management certificate:
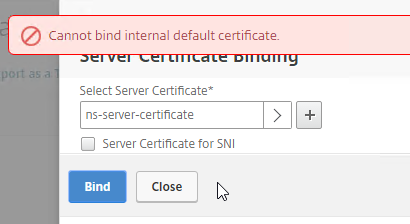

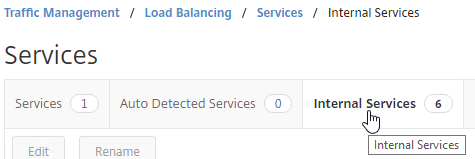
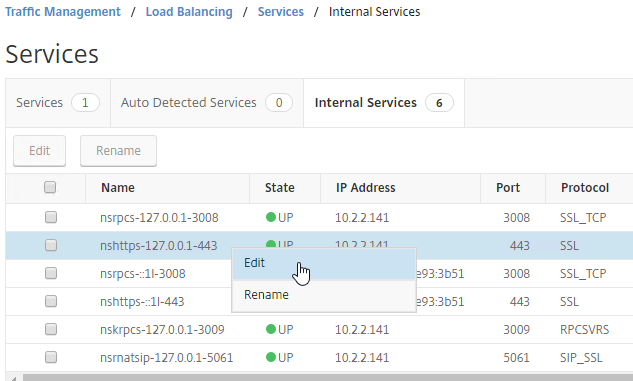
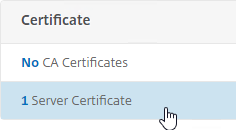
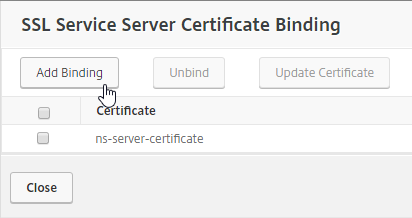
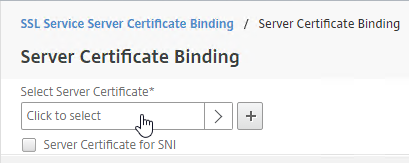
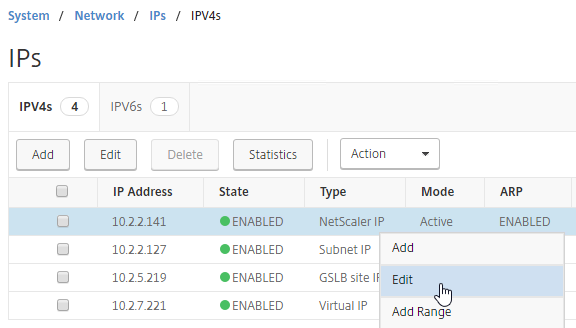
The manual Binding to Internal Services method is detailed below:


By default, administrators can connect to the NSIP using HTTP or SSL. This section details how to disable HTTP.

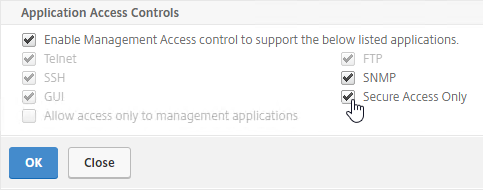
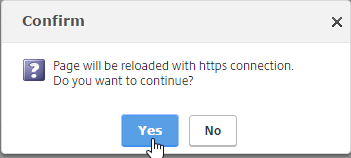
set ns ip 10.2.2.126 -gui SECUREONLY
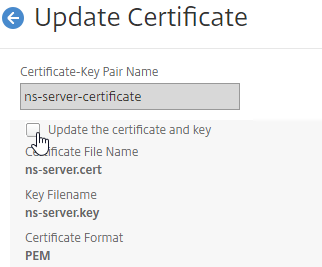
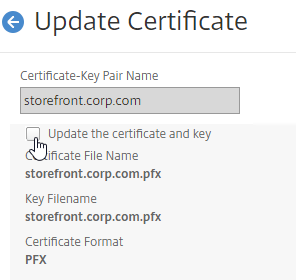
There are two options for updating a certificate:
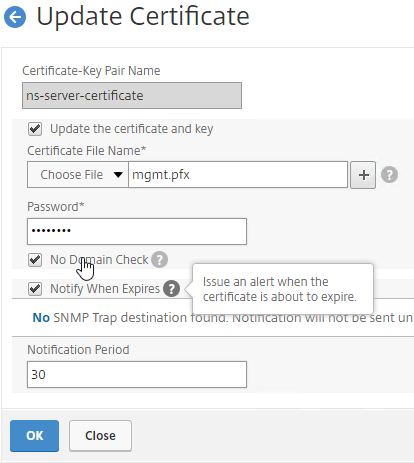
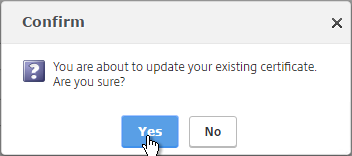
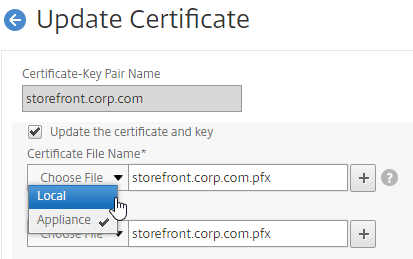
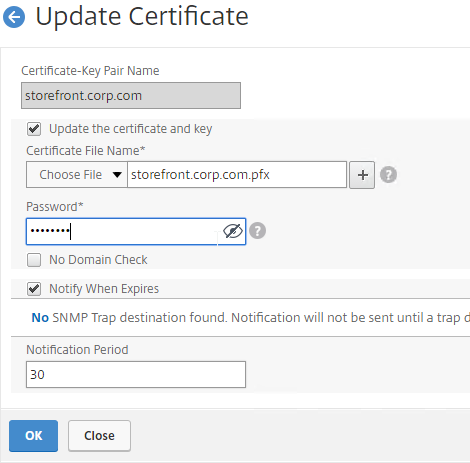
To update a certificate using the Update method:

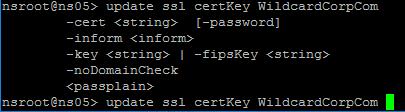
Certificates can be updated from the CLI by running update ssl certKey MyCert . However, the certificate files must be stored somewhere on the appliance, and already be in PEM format.
Hi Carl, when i create the key with password. Then i create the csr with 3 SAN in it to the send it to the public CA(entrut) to receive the cert. when i try to import and put the password of the private through the GUI, the system keeps telling me that I have an ‘invalid password’ which is note the case when I created the csr with it. Do you have any idea what could cause that behaviour? Thanks
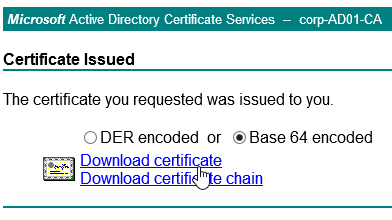
Carl Stalhood says: Does the password have special characters? Try using the CLI to run the “add ssl certkey” command. Manul De Silva says:I also had the same issue. But mine was solved after I downloaded the certificate as base64 from the windows CA. Each time I used the DER encorded, it gave the error invalid password during installing the certificate in the netscaler.
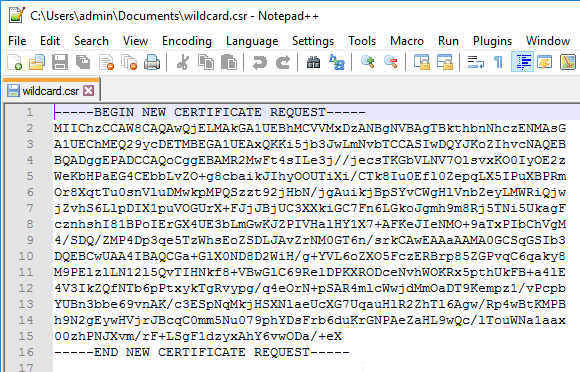
Chris Logan says:Hi Carl, I’m seeing a potential issue when I generate a CSR for a wildcard on the appliance itself. When I check the CSR using a decoder the common name has a backslash at the beginning of it: \*.domain.com Not sure if you have seen this before on version 12.
Muhammad Ali Zafar says:This is a known issue and has been fixed in 13.0.83+ or 12.1 63+
So, we would request you to upgrade the ADC to get this issue fixed.
Hi Karl, when I try to install the .pem or .cer certificate it keeps on circling in the Netscaler ADC with no further movement. What could be the reason ?
I tried reboot the ADC and tried multiple times but no luck. No error message, the install wizard page just circling after provide all details and when click on Install button. Please help me to fix the issue.
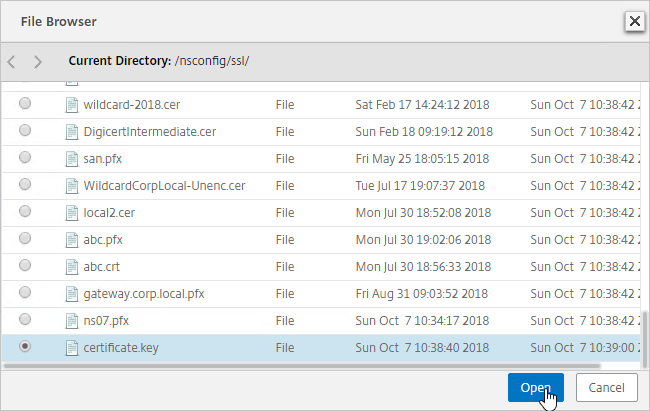
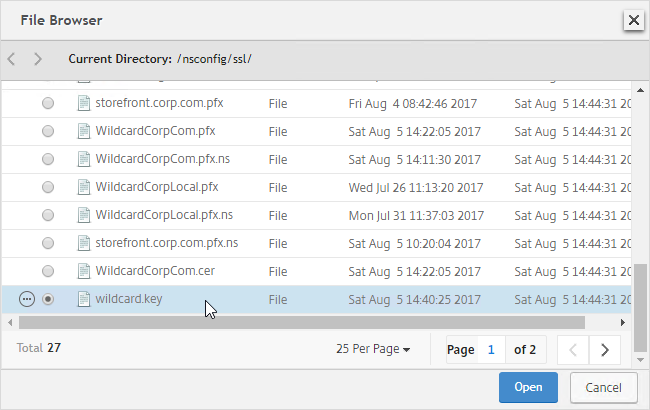
There have been bugs in various builds of ADC. I usually upload the certificate file to /nsconfig/ssl and then run the “add ssl certkey” command from CLI.
Greg says:Great article!! I’m using this in my certificate renewal process for my Storefront servers which are in a load balanced service group on my Netscaler. The only thing I’m missing is a rollback plan. When you update the certificate and it is rebound on all the servers, is the original certificate removed from the system? If I have to roll back, I’d like the original cert to be there to rebind. I apologize if this is a repeat question.
Carl Stalhood says:On NetScaler, the old files are still there but the GUI configuration object points to new files instead of the old files. You’d have to change it back to the old files. You can go to System > Diagnostics > Running Configuration, search for the certificate name and see the old files.
Rohan says: Is there any disturbance in connection , if we renewed certificate with using manual method binding. Carl Stalhood says:When you go to the SSL vServer and open the Server Certificate section, you’ll see the existing binding. You might be tempted to unbind it before binding the new one. However, if you click Add and select the new cert, it will replace the existing binding. If you do it this way, then I don’t think it will drop.
Ali Vural Yılmazlar says:Hello Carl,
This is an excellent article. I would like to ask you a question. If current ssl certificate that is binded to virtual server is a pem file can I update it with pfx file? What i need to do? Thank you for your interest. Have a healthy days.
You should be able to. When updating the cert, browse to the PFX file. If you might see it asking you for the key file then just ignore it. Enter the PFX password.
Brian Stevenson says:I’m updating an existing pfx file, but it still has the field for the key. It’s filled in with the old pfx file name. If I change it to the new one it tells me it’s an invalid format. Do I just leave it alone, put in the new file location in the cert field, and put in my password?
Carl Stalhood says:I believe that’s correct. I sometimes have to try different combinations to get it to work. CLI is also an option.
Saad says:Hello Carl,
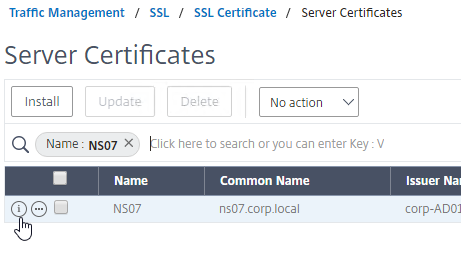
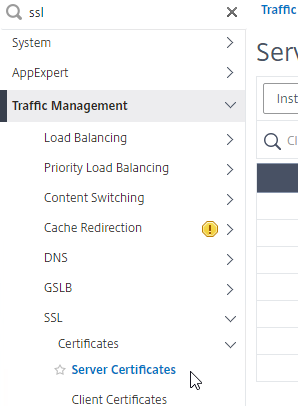
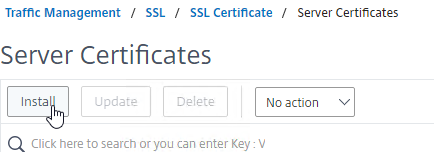
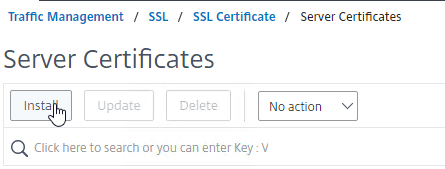
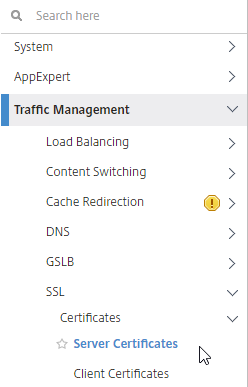
I wonder if you came across this error upon removing a certificate from Traffic ManagementSeparatorSSLSeparatorSSL CertificateSeparatorServer Certificates
file or installing it even if its a different certificate. ERROR: Problem in input PKCS12 file
even from SSH command line it gives the same error upon removing or adding a new certificate, graphically and thru commandline. And I dont want to reboot as its production. NetScaler NS12.1: Build 55.18.nc
Hi Carl Are we able to use Microsoft CNG/ECDH certs? Struggling to import a PFX with a CNG key, issued by a MS CA, exported from Windows. (Goal is replacing the mgmt cert). RSA keys have always worked fine.
Brian Fincham says:Carl,
First off I want to thank you for this amazing How to document you have provided. I was successful in a little over a year ago to step through the entire process to get up and running.
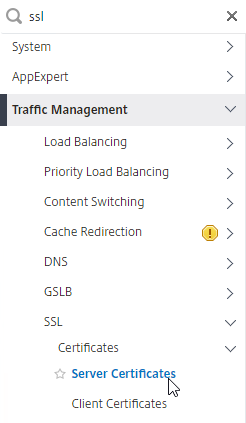
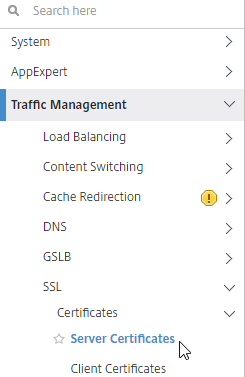
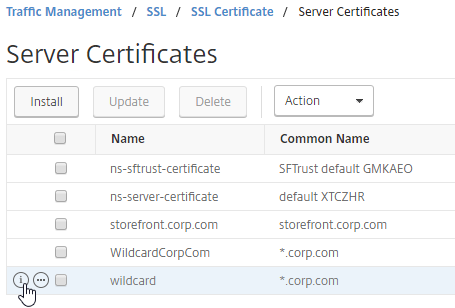
However what leads me to my post today is surrounding the Local Wildcard certificate I installed last year that has now expired. I have stepped through the steps to create a new local wildcard cert and updated the expired cert on the netscaler–>Traffic Management–>SSL–>Certificates–>Server Certificates . I add the cert to the IIS and bind it to the Default Website and restarted services. But when I try to access the storefront via a web browser internally on the network I receive a message that the cert is not trusted. Also when I try to open up the Director web page it too has a trust issue with the certificate and can not retrieve any data. I think I am missing something very simple possibly. Thanks for any help you can shed on the issue.
What CA signed the certificate? Is the CA root certificate installed on the client machines? What browser? Firefox has different root certificates than the other browsers.
Brian Fincham says:Carl,
My apologizes for not replying much sooner. I was monitoring a different thread and didn’t see this update for some time. Turned out my issue got resolved when I recreated the self signed wildcard cert using sha256. The other problem I discovered was I forgot to place the “.” after the wildcard character. *.xxxx.local Once I added that along with making the cert sha256 all worked great. Thanks so much for the fast response and sorry for my late reply.
Hi Carl, great work as always!
I’m using NetScaler ADC (NS12.1 54.13.nc)
I’m trying to use Client authentication certificates to verify the an external client identity when connecting to the Gateway interface. but keep getting “SSL error 47 peer sent a handshake failure alert”
– The Gateway Server certificate works fine using various cipher groups and TLS 1.1 > TLS1.3 using our own internal CA cert
– The Gateway has the correct CA specified (exported from our CA, imported and installed on the ADC)
– Enabling ‘Client Authentication’ on the gateway causes the Clients to select the correct certificate in their browser.
– LDAP auth work on the Gateway fine
– Users can logon to Storefront ok. But i always get the “SSL error 47 peer sent a handshake failure alert” on the client Reciever and Workspace app Any ideas what i might be missing in my config ?
Thanks in advance 🙂
I don’t think Receiver supports client certificates unless they are on a smart card. You might have to create a second Gateway for ICA Proxy that doesn’t have client certificates enabled.
Tim says: Thanks Carl. Great detailed information that really helped me with this process. Aaron Yu says:I am configuring the NetScaler as Load Balance. But I don’t understand Convert .PFX Certificate to PEM Format. How to get the *.corp.com certificate? Certificate name with the NetScaler Name the same?
Carl Stalhood says:https://www.carlstalhood.com/storefront-3-5-basic-configuration/#sslcert has some info on how to use Windows to create a certificate. After the certificate is created, export it to a .pfx file. Or you can skip Windows and instead use NetScaler to create the certificate. https://www.carlstalhood.com/certificates-citrix-adc-13/#csr
Aaron Yu says:That’s my understanding:
When I configure StoreFront certificate need add load balance FQDN to Alternative Names of Certificate Properties. Then export StoreFront certificate and add to load balance. Am I right?
don’t know why citrix had to make ssl certificate use such a rocket science. No wonder why they’re loosing their business.
jace says: amazing doco carl Axl says:Hello,
I installed a server cert with your method (To auto-convert a .pfx file (without private key encryption) but it does not appear in server cert section on NetScaler 12.
And when I tried to add it again I got this message -> already exist etc.
Do you have any idea?
Thank you in advance!
There have been various bugs in the UI for displaying certs. You can probably see it from the CLI at “show ssl certKey”
Axl says:I’ll check it, and of course I’ll give you a feedback… and share the results… additional info->these certs were created by vmware and it works on NS11.1. But not on 12.
Thx Carl!
Hello Carl!
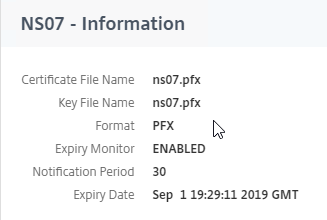
Thank you for great articles! I have one question about SSL. One of imprted CA certificates shown in NS as expired. In details I can see as follow:
Valid From
Jan 14 08:41:47 2009 GMT
Valid To
Jan 14 08:42:2108 GMT There is no “sec” value. “year” value has been moved to “sec”. So strange issue. Windows console shows it as 14 Jan 2108 11:42:12 and valid. Could you give me some advice to solve it please?
There have been several issues with how certificates are read in 11.1 and newer. You might have to open a support case so they can fix it.
Renat says:Unfortunately I have a trial license only and no way to open a support case for. BTW thank you for your answer.